NBnano Setup and Registration
Introduction
This guide will walk you through the process of setting up and registering your NBnano device. Follow the steps below to connect your device, configure it, and register it on the NBnano Portal.
Connecting to the NBnano
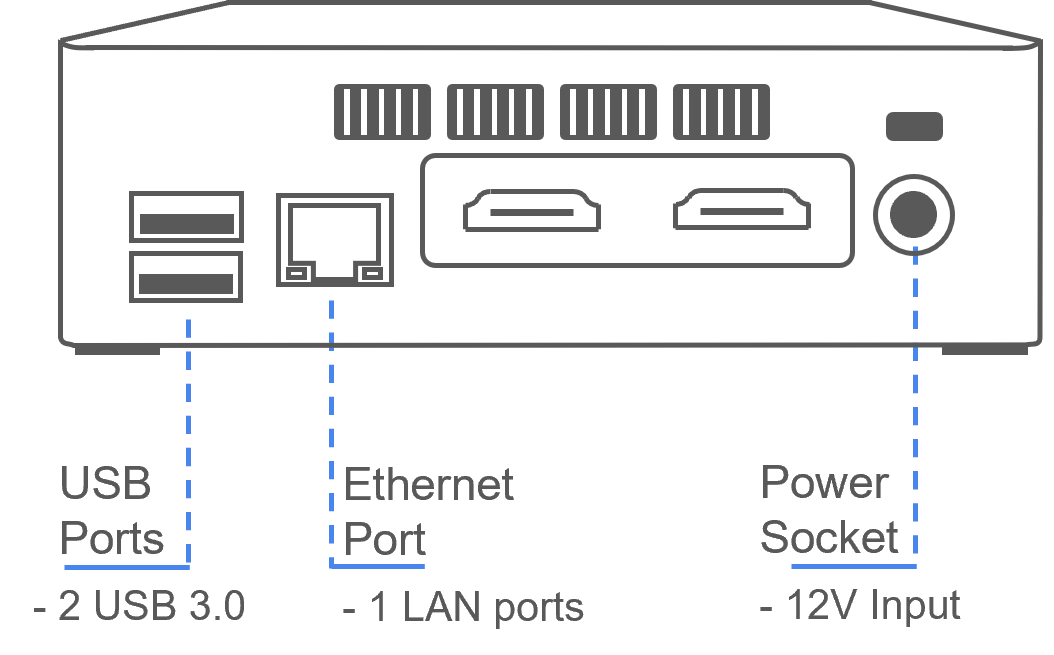
- Ethernet Connection:
- Plug an Ethernet cable into the Ethernet port to provide the NBnano with internet access.
- Powering the Device:
- Plug in the power cable and press the power button located on the front of the unit to turn it on.
Network Connections
-
LAN – DHCP
-
This port connects the NBnano to your network. By default, it is set to DHCP for the initial registration and updates. After the setup, you can configure it as a static port for your Building Management System (BMS) connection.
-
-
WIFI – WiFi AP – DHCP
-
This port allows you to connect to our NBnano for viewing and administration purposes via WiFi.
-
Accessing the NBnano
- Connect to Wifi:
- From your PC, navigate to the list of available WiFi networks and select the network named nanoXXXX.
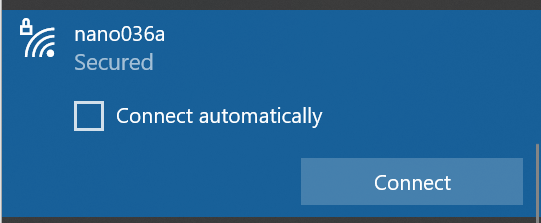
- WiFi Password:
- Use the password: iqnexus-nano to connect to the NBnano’s WiFi network.
- Open Web Brower:
- Once connected to the WiFi network, open a web browser and go to the following IP address: 192.168.12.1.
Registration
Adding your NBnano to the Portal
The NBnano Portal allows you to access and manage licenses, notifications, and remote access to all your NBnanos in a single place. To complete the registration process, follow the steps below to add your NBnano to the NBnano Portal.
To complete the registration process, follow the steps below to add your NBnano to the NBnano Portal.
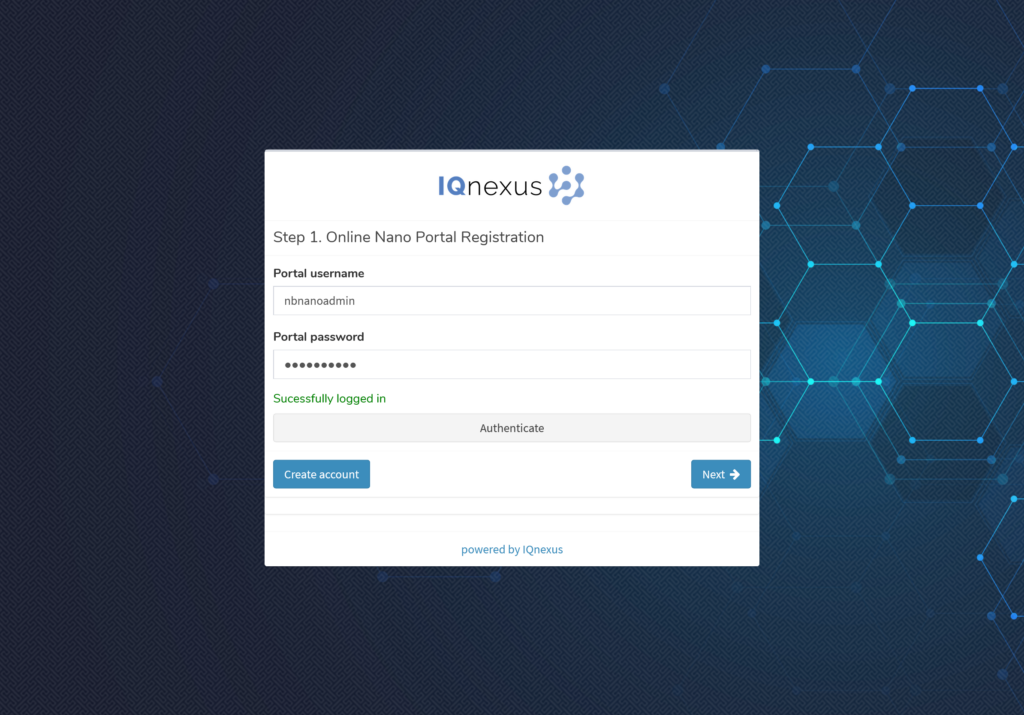
- Create or Log into an Account:
- If you already have an account, enter your credentials and click ‘Authenticate’.
- If you don’t have an account, click ‘Create Account’ and you will be redirected to the registration page: https://id.nbnano.io/login/new-account.
- Authentication:
- After successful authentication, proceed to the next steps.
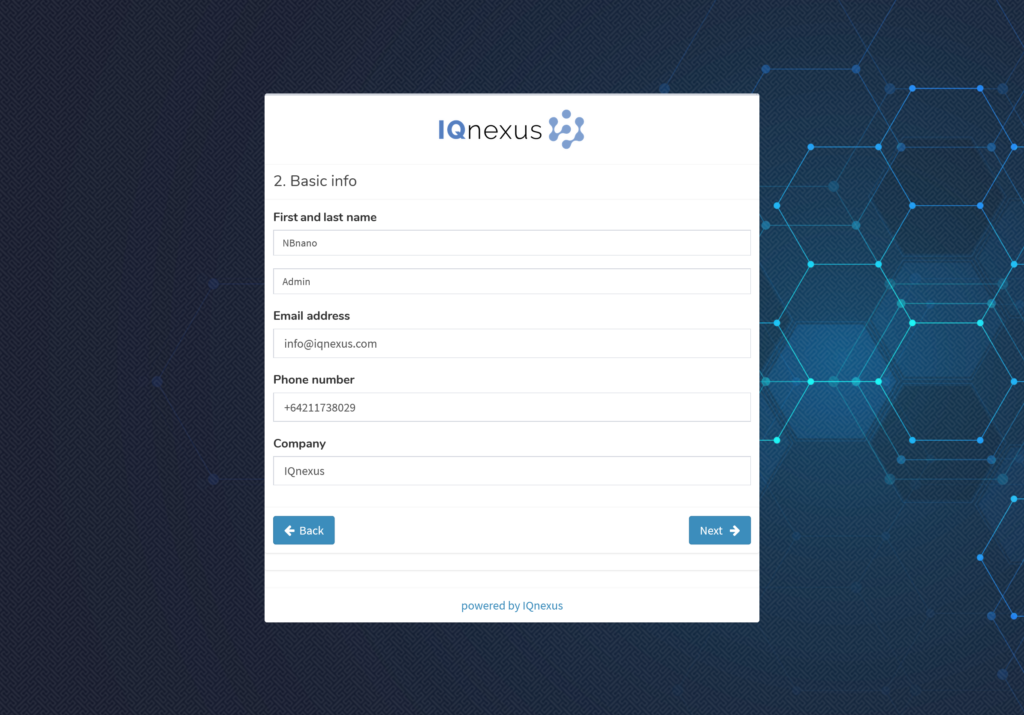
- Contact Details:
- You will be required to add basic contact information. This information is used to assist with support requests.
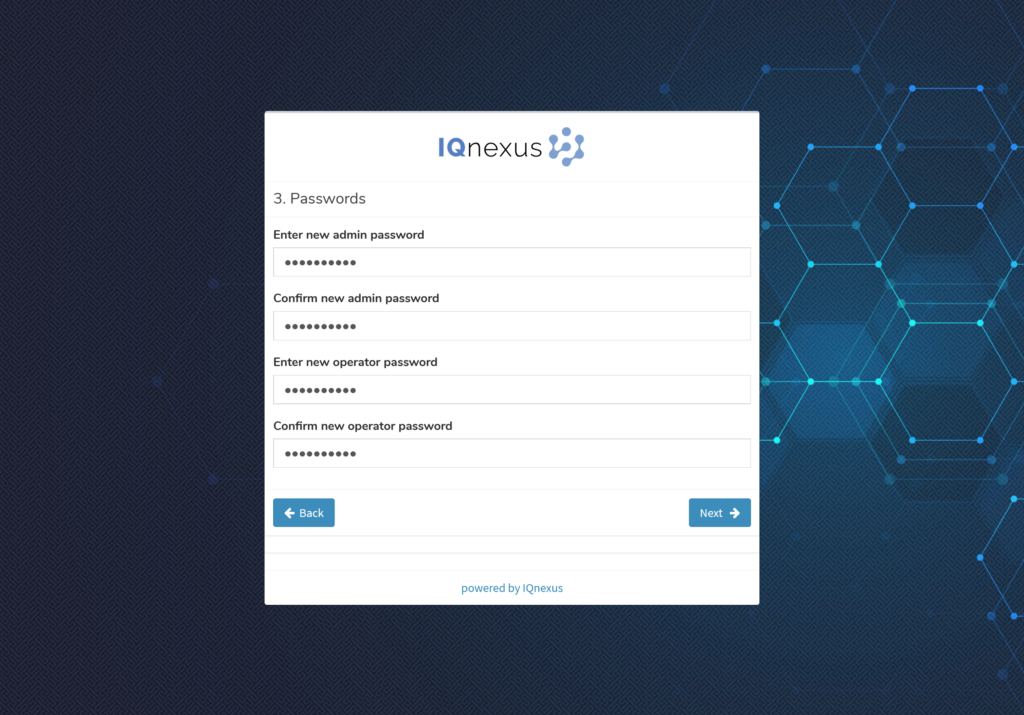
- Platform User Setup:
- Create passwords for the default platform users (Admin and Operator).
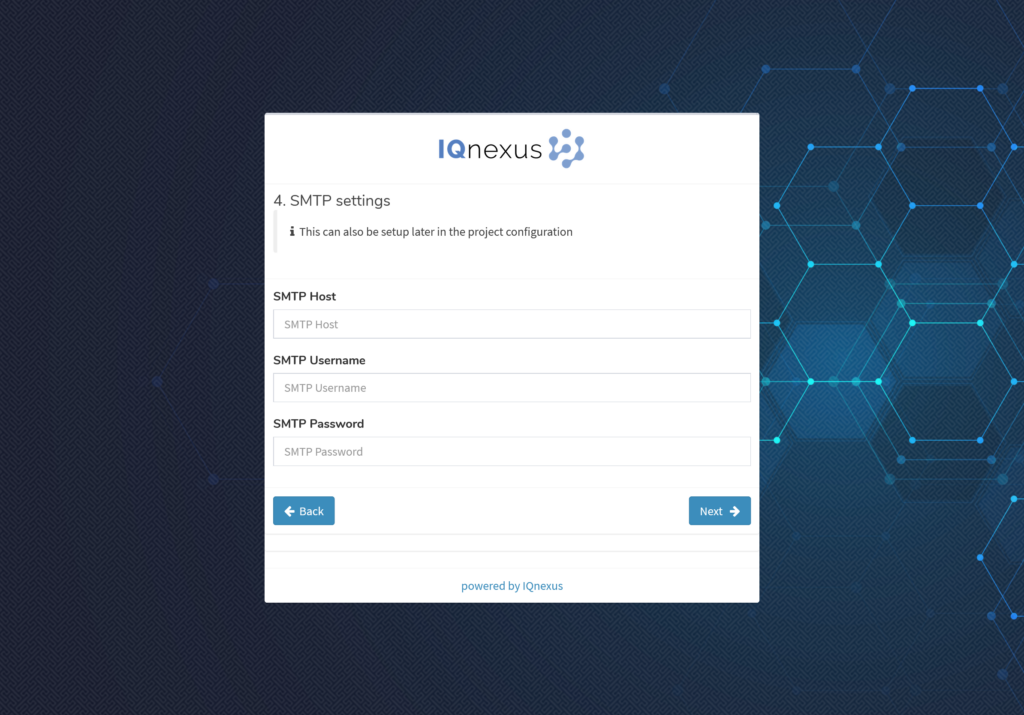
- SMTP Settings (Optional Setup):
- If desired, enter the email SMTP settings that will be used to send notifications from the NBnano. These can be left blank and configured later after registration.
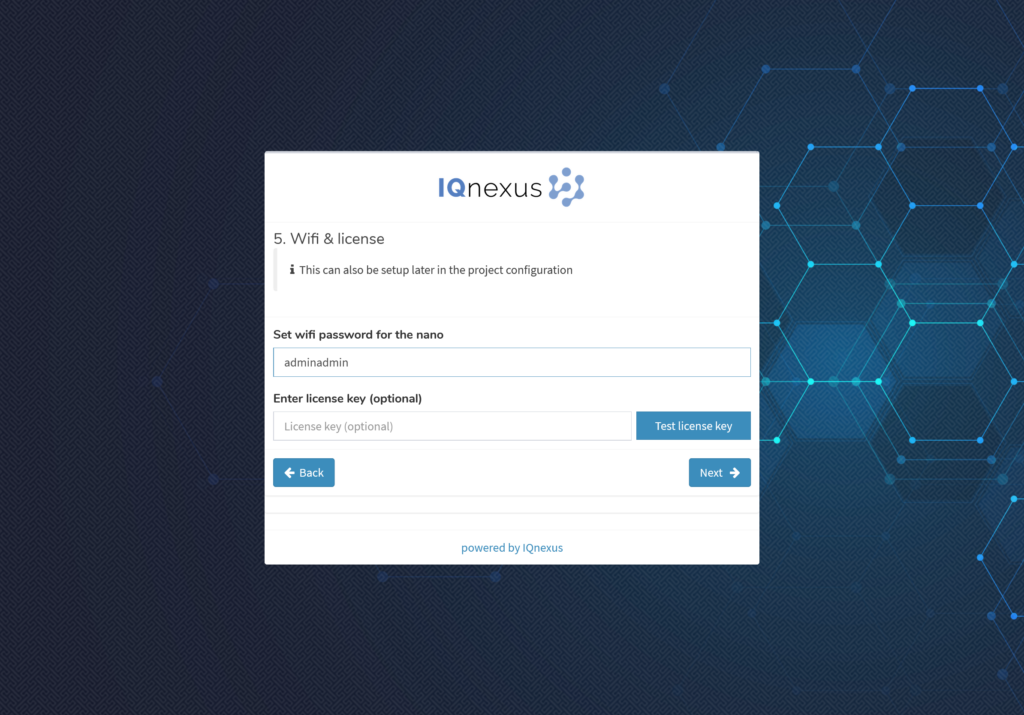
- WiFi Settings:
- Enter the desired WiFi password for the NBnano.
- License Key:
- If you have a license key, enter it now. Click Next to continue.
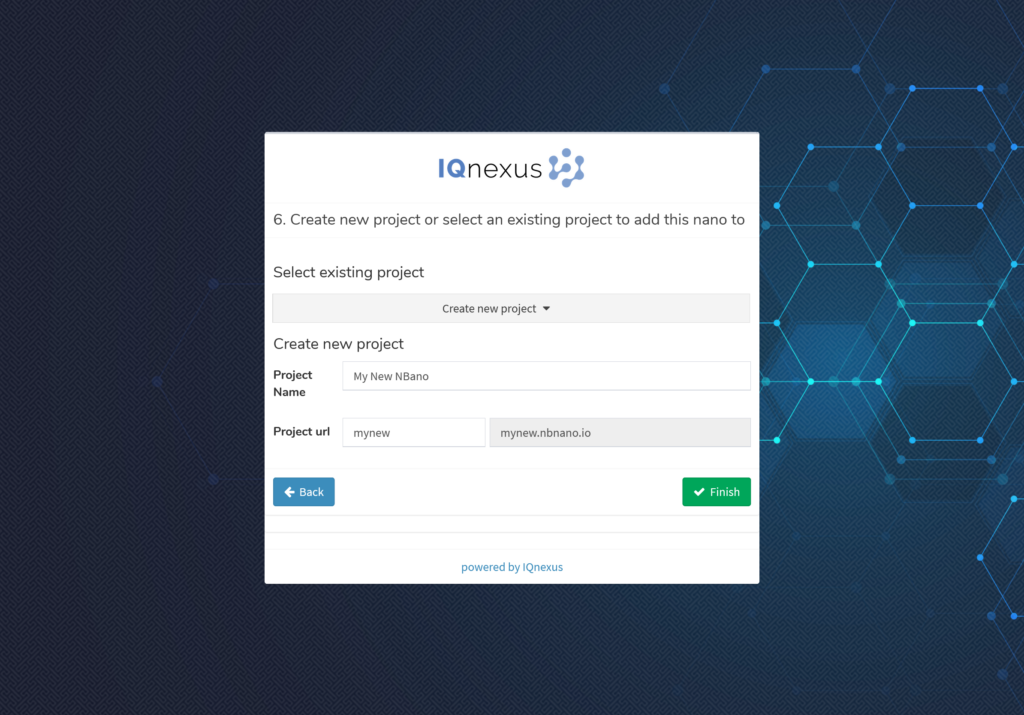
Adding NBnano to a Project
You will now add your NBnano device to a project for easy management. This project will give you a custom URL to access and manage all of your NBnanos. You can create multiple projects to organize your devices, allowing you to manage and view different NBnanos under separate projects. However, most users find it convenient to create a single project for all their devices.
- Existing Project:
- If you already have a project, select it from the dropdown list.
- New Project:
- If this is your first project, create a new one. Your user will automatically be added to the project, and your NBnano will be included as well.
Need Assistance?
If you encounter any issues during the setup or registration process, please feel free to Contact us for support.