SenAir CO2
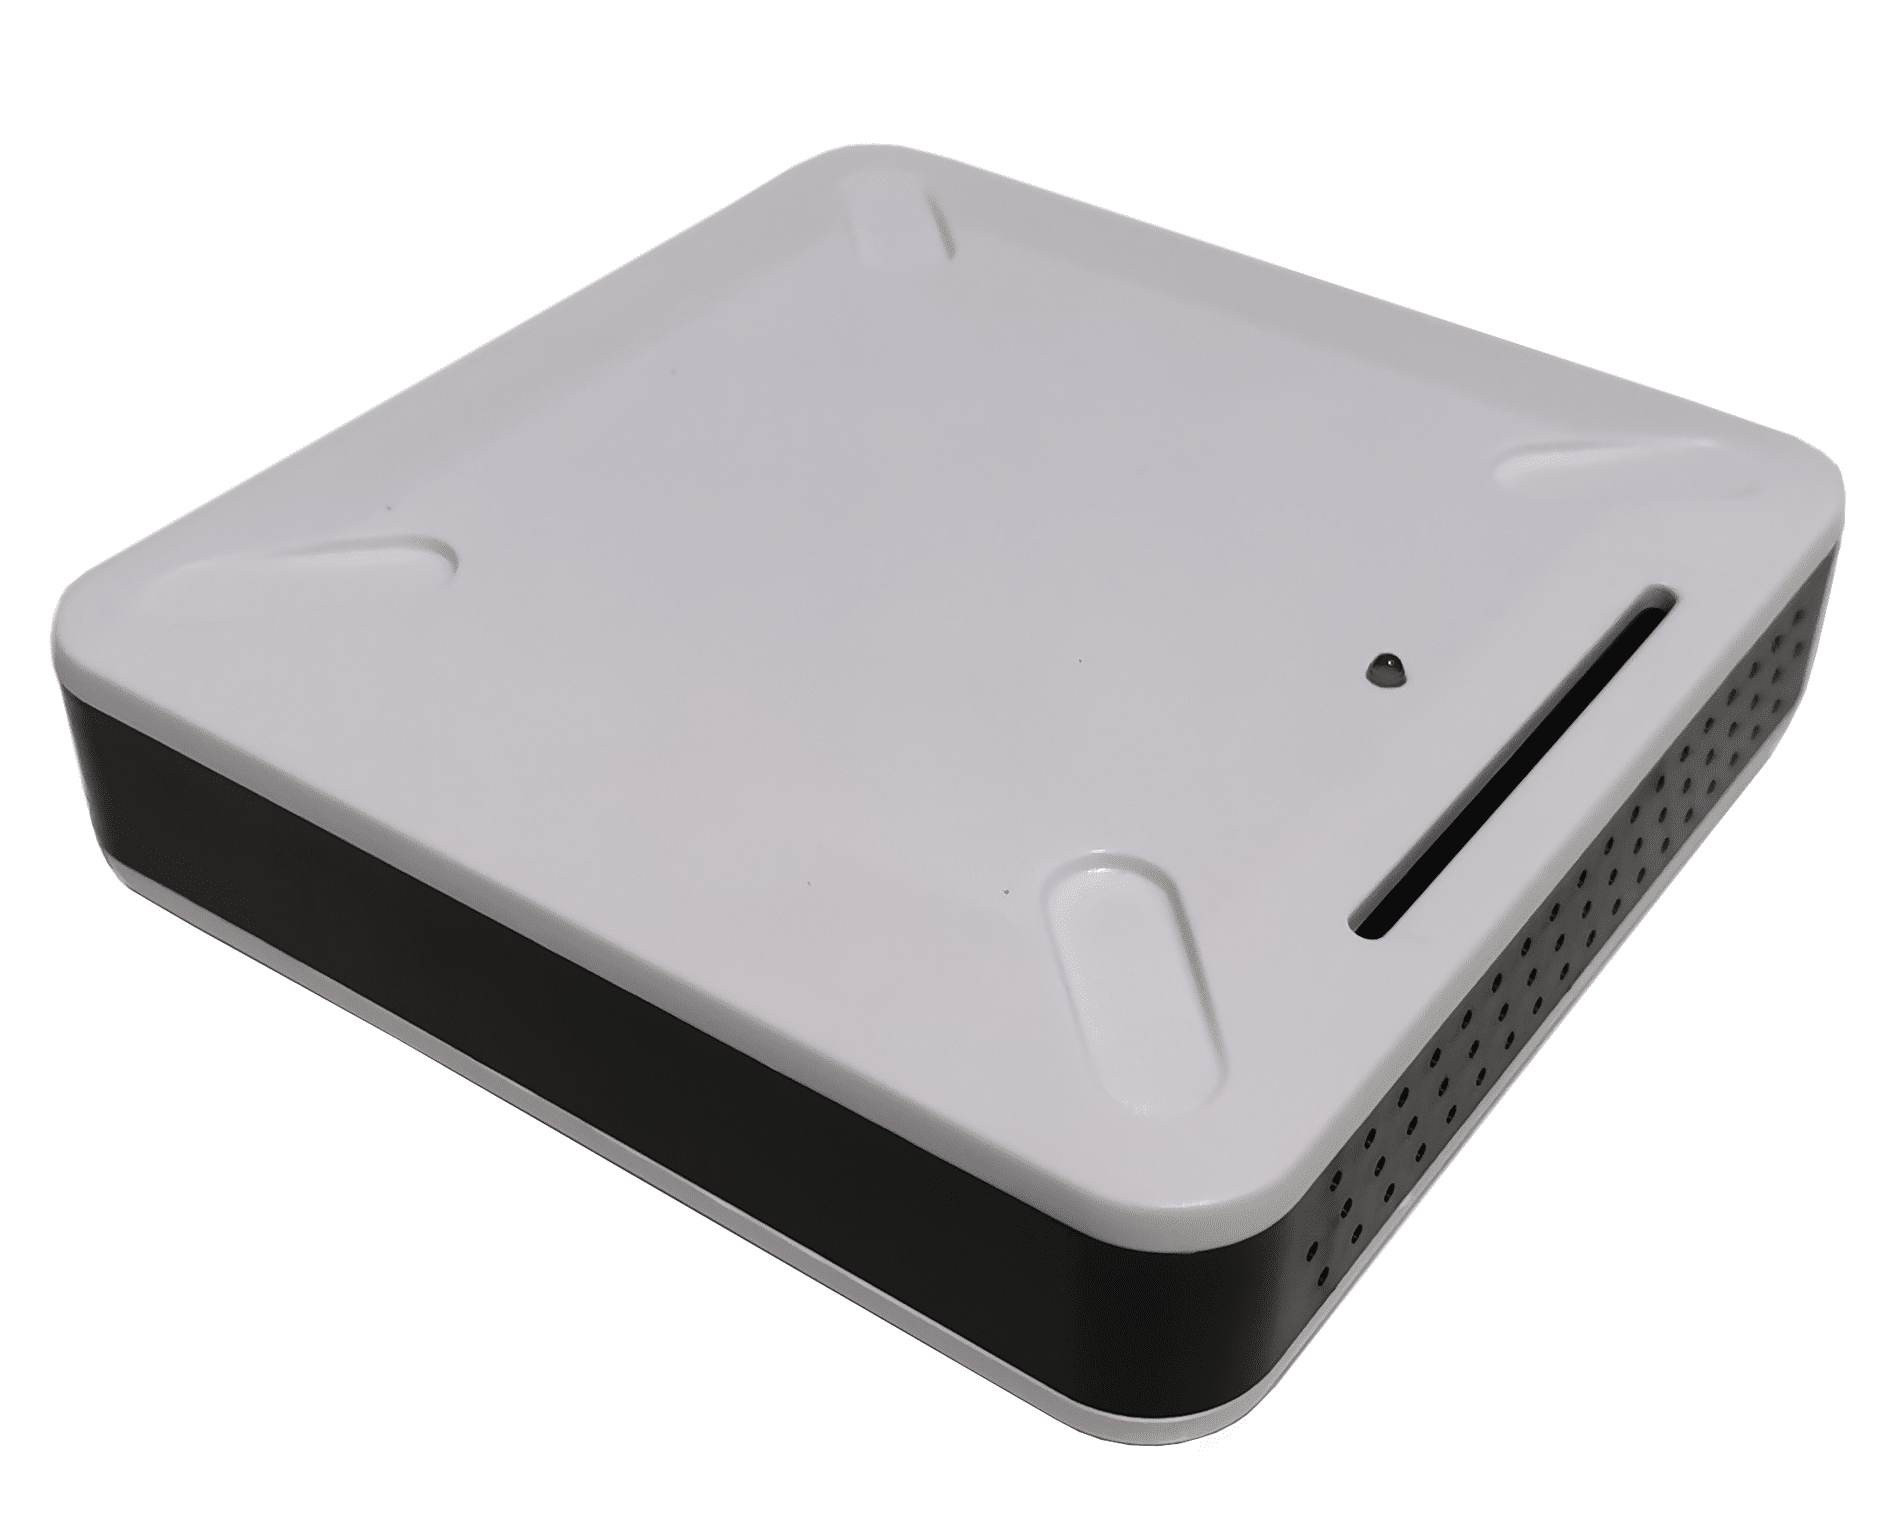
This is an overview of the SenAir CO2, a portable device to obtain critical Air Quality information and make this data readily available online. This page will explain how to configure a SenAir CO2 and connect it to the IoT platform.
Features
-
High resolution, accurate CO2 measurements
-
Accurate Temperature and Humidity measurements
-
Measurement Alarm Thresholds
-
Battery life up to 5 years
Configuration via Downlink
Before you can configure via downlink you must Add your device to the platform.
-
Navigate to the device and select Actions → Controls from the menu beside the device.
-
Select Device Config from the Downlink selection drop down menu and complete the downlink fields below.
-
Click Queue to add to the downlink queue.
|
Wakeup Period |
Set the period you want your device to wake-up and transmit a meter reading. |
|---|---|
|
Rejoin Period |
The period at which your device will rejoin the network |
|
New Hour |
Overwrite your device’s time |
|
New Minute |
Overwrite your device’s time |
|
New Second |
Overwrite your device’s time |
|
Update Time |
0 if you are not updating the time, 1 if you are. |
|
Calibration Target |
The value of the calibration target in ppm for CO2 |
|---|---|
Calibration
The SenAir CO2 comes factory calibrated. However, it is possible to calibrate your SenAir CO2 device and this can be done via downlinks or over serial interface. Simply set a calibration target by downlink or serial.
Downlink
-
Navigate to the device and select Actions → Controls from the menu beside the device.
-
Select Target Calibration from the Downlink selection drop down menu and enter a Calibration Target.
-
Click Queue to add to the downlink queue.
Serial
-
Connect the device to your PC via serial.
-
Enter device calib target [value] into the command line interface and hit enter.
The calibration target should be the actual value of the CO2 ppm currently in contact with the device. Running this command will fit the next reading to what you set as the target and reset the baseline for that sensor.
Configuration via serial
-
Connect the device to your PC via serial.
-
Now you can use the commands below to configure report rate, leak period, burst threshold and current time, similar to the example below.
Device Commands
|
Commands |
Description |
|
Wakeup base [interval] |
Sets the wakeup period (minutes) at which interval the SenAir transmits data. |
|
rejoin [interval] |
Sets the re-join period (hours) |
|
time hour x |
Set the device clock (hours) |
|
time minute x |
Set the device clock (minutes) |
|
time second x |
Set the device clock (seconds) |
|
help |
Shows a list of available commands |
|
run |
Closes command line and runs |
|
show |
Shows current configuration |
|
device calib target [value] |
Sets the calibration value and runs the calibration routine |
|
flash save config |
Make configuration changes permanent |
|
flash save data |
Make data changes permanent |
Example
The following snippet shows the configuration of a SenAir CO2 device.
-
wakeup base 60 – sets the device to wake and transmit every 1hr
-
rejoin 3 – sets the device to rejoin the network every 3 hrs
-
device calib target 500 – sets the calibration target to 500
-
flash save config – Saves the current settings
-
run – runs the device
Glossary of Terms
|
Uplink |
An uplink is a message sent from your device to the platform over the network |
|
Downlink |
A downlink is a message sent from the platform to your device over the network |
|
Transmit |
The sending of data from the device to the IoT Platform |
|
Calibration |
Comparison and improvement of a sensors measurement relative to a value of known accuracy. |
|
Calibration Target |
The value to Calibrate the sensor against in the current environment. |